Activity
Make Jewelry Using Your Favorite Photos!

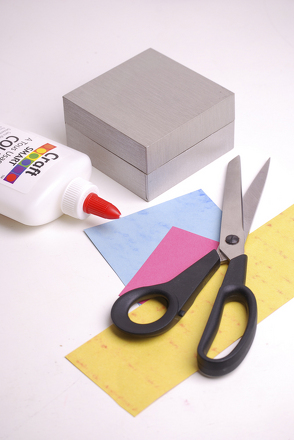
Remember Shrinky Dinks? They were sheets of plastic film you could draw on, cut out, and bake into a shrunken solid piece of plastic. The original Shrinky Dink is no longer on the market, but now there's something even better: Inkjet printable shrink plastic! Print your very own photos, snapshots, or fine art pictures onto a plastic sheet, watch them shrink in the oven, and then create some unique pendants, earrings, or key chains! They're great accessories, but also make an excellent gift for a friend or family member.
Related learning resources

Make Hardware Jewelry
Activity
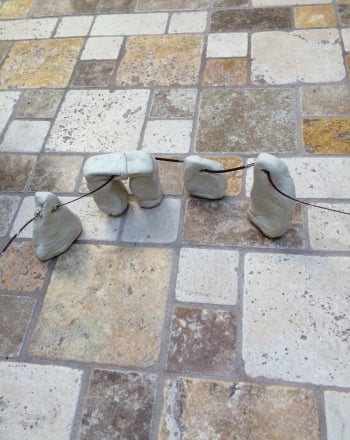
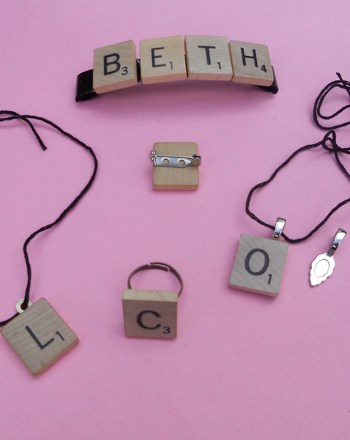
Make Hardware Jewelry
Help your teen use scrap hardware to make punk-style jewelry that lets her own unique style shine.
Arts & crafts
Activity
DIY Jewelry Tree
Activity
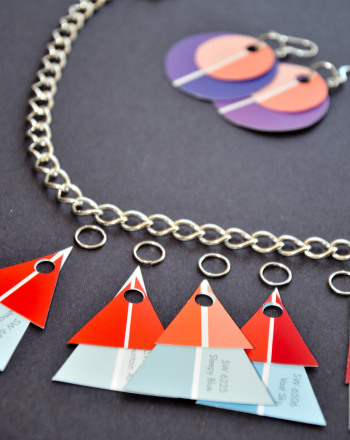
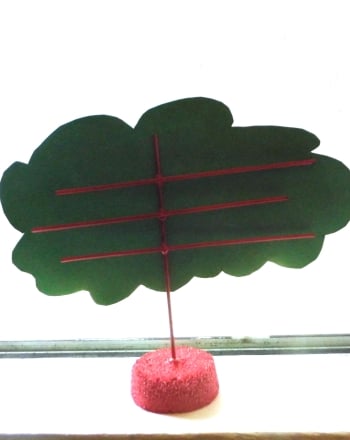
DIY Jewelry Tree
Get inspired by the great outdoors and help your child make a quirky jewelry tree out of chopsticks!
4th grade
Arts & crafts
Activity

What's Your Favorite Color?
Worksheet
What's Your Favorite Color?
Everyone has a favorite color, especially preschoolers.Let your kid express herself and draw something using her favorite color.
preschool
Reading & Writing
Worksheet