Microsoft says that Windows 10 is now installed on more than 400 million gadgets worldwide. It appears the gamble of offering free upgrades to existing Windows 7 and 8.1 users seems to have paid off.
Windows 10 has been around long enough that many of the early kinks have been worked out. If you’re using a laptop and want to upgrade to Windows 10, you’ll still want to talk to your manufacturer to see if any compatibility problems have popped up, but for the majority of people, it should be fine.
Of course, getting used to a new operating system takes a little time and effort. You have to relearn some tricks, find out where familiar things have moved or get the hang of new features. We’re going to help speed up the process.
Whether you’re about to install Windows 10, or you’ve already been using it for a while, here are five tips you need to know. This covers taking control of the new Start menu, improving privacy, finding the traditional Control Panel, cutting down on notifications and more.
1. Take control of the Start menu
One of the biggest problems with Windows 10’s predecessor, Windows 8, was the lack of a Start menu. Instead, Microsoft replaced it with a touch-friendly Start screen that left desktop and laptop users working with a mouse and keyboard out in the cold.
Microsoft wisely elected to bring back the Start menu for Windows 10, but it updated it with some of the good parts of the Start screen, such as “live tiles” for getting information from apps without opening them.
When you first install Windows 10, your Start menu will look something like this:

It has programs on the left with app icons on the right. Some of the app icons are the “live tiles” that update with new information, such as the current weather, new messages and more, automatically.
Of course, some of these you might not want to use, or you want your own app or program icons there. Fortunately, customizing is simple and flexible, as you can see from a customized Start menu in the pictures below.
Simply right-click on any App icon to resize it or unpin it from the Start Menu. Selecting “Unpin from Start” takes it away. You can also uninstall programs with a right-click as well.

If you want to add an app to the list, you can click and drag its icon from the left column or right-click on an app icon and choose “Pin to Start.”

Once the icon is in the right-hand area, you can drag it around to exactly where you want. Putting icons close together lets you group them. You can name groups whatever you want, and you can move groups around by clicking the icon with the horizontal lines next to the name.

Don’t forget you can click and drag the edges of the Start menu to make it larger or smaller. You can have it take up most of the screen or very little space at all. It’s your choice.
2. Make Windows 10 more private
One valid criticism of Windows 10 is that it stores more information about you than previous versions of Windows. The personal assistant Cortana, for example, remembers everything you tell her and keeps tabs on what you do on the computer so she can offer you better suggestions and recommendations.
Not everyone likes this level of data collection, and you can make changes to send Microsoft less. Learn how to manually control your Windows 10 privacy. You can also get programs that bring important privacy settings into one spot, such as Win10 Spy Disabler and AntiSpy.
3. Visit the old Control panel
Windows 10 shipped with a streamlined Settings screen that won’t be familiar to Windows 7 users. And it’s more useful than the similar one in Windows 8.1. Here’s what it looks like.

The new Settings screen is handy for the basics, but it doesn’t quite have all the options you might want. Fortunately, you can get to the old Windows Control Panel with no problem.
Simply right-click on the Start button and select “Control Panel.”

Right-clicking the Start button is also a fast way to access other hidden areas you might want to use, such as the Device Manger or the Run command prompt.
4. Get fewer notifications
Windows 10 added a handy notification area, similar to what you find on smartphones. Simply click the notification icon in the lower-right corner and you’ll see a list of new email, app updates and more.
However, with lots of apps and Windows features using notifications, it can get cluttered fast, or just bug you with continual popups. Fortunately, you can choose what can use in the notification area.
Go to Start >> Settings and click “System.” Then go to the “Notifications & actions” area. Here you can choose whether or not to see Windows tips, app notifications, notifications on the lock screen and more.
If you scroll down you can turn notifications on and off for individual apps. For each app, you can also choose if the notification plays a sound or not.
When you click the Notifications button, you’ll also see a list of Quick Actions at the bottom. Here you can set Quiet Hours when notifications won’t bother you.

That’s handy if you want notifications but only during certain times.
5. Get the look you want
OK, changing the colors and background picture in Windows might not seem that important, but you’re looking at your computer for hours every day, so why not see something you like? Many people just live with whatever theme Windows has out of the box, but making your own is easy.
Go to Start >> Settings and choose “Personalization.” Your first option is to change the Background. You can choose from a picture, solid color or slideshow.

Windows 10 has some very nice default background pictures, or you can click “Browse” to choose your own. Be sure to choose a fit that looks good so the image isn’t squashed and stretched. Fill, Fit or Center are safe choices.
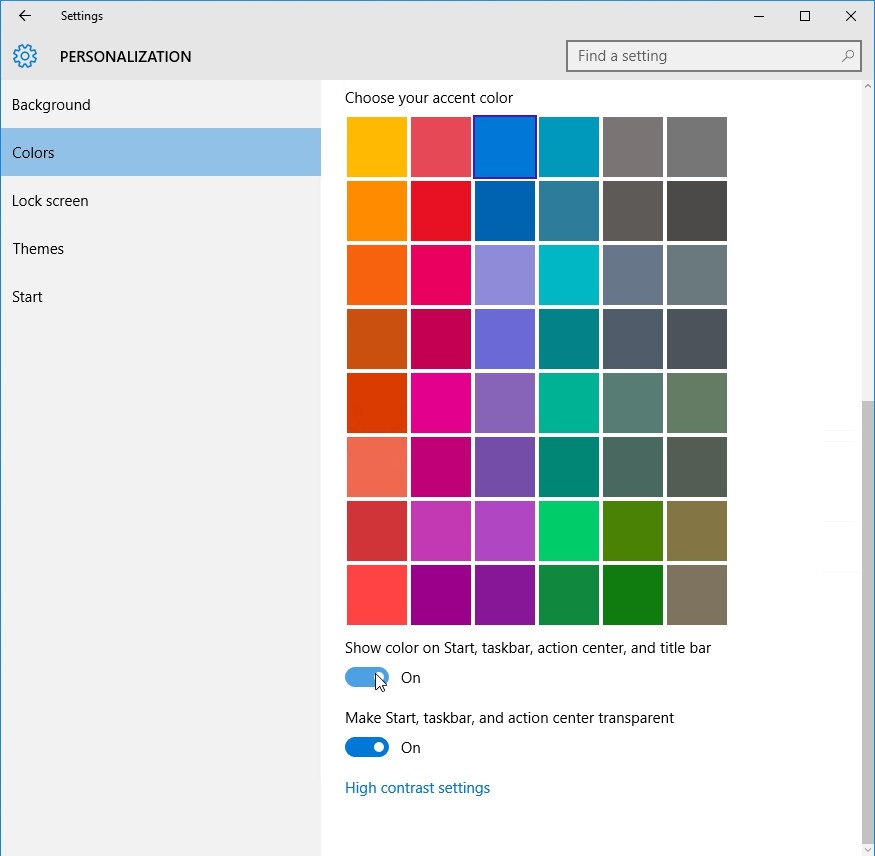
Next, you can go to the Colors area. Here you can pick your accent color.
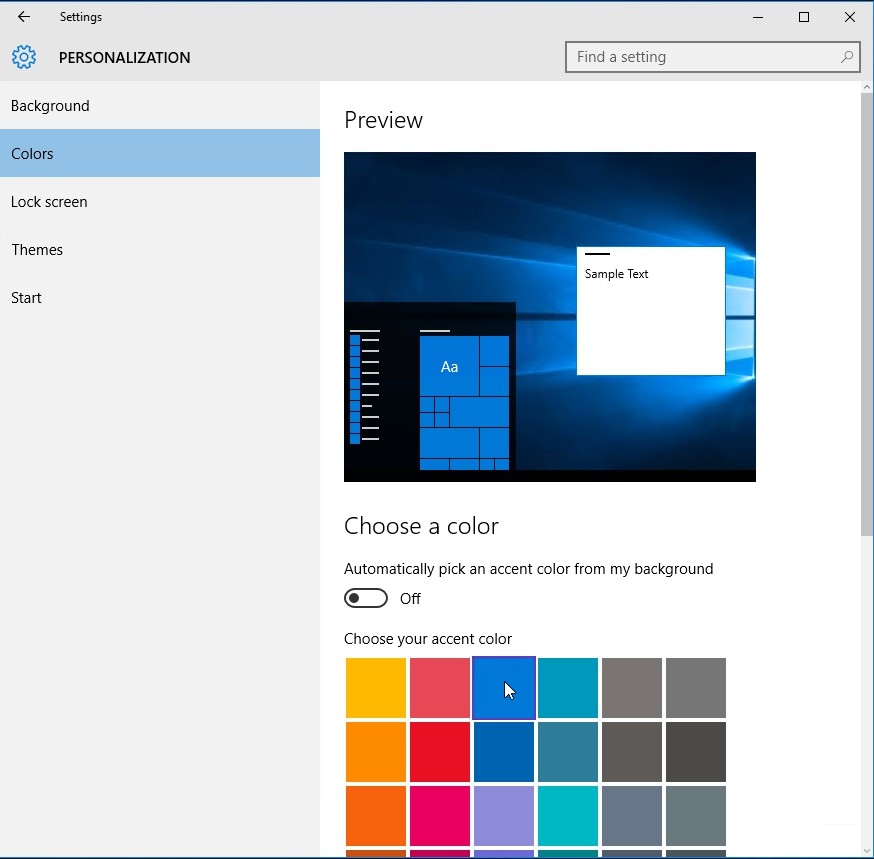
By default, this only affects a few icons and window borders. However, if you scroll down and turn on “Show colors on Start, taskbar, action center, and title bar,” they will all take whatever color you pick.
Some other options include letting the computer pick a color based on your background image, which is great for slideshows, and making the Start menu, taskbar and notification area transparent. You can play around with those to see how you like it.
As you can see we decided to go with a nice beach scene and a bright orange color.
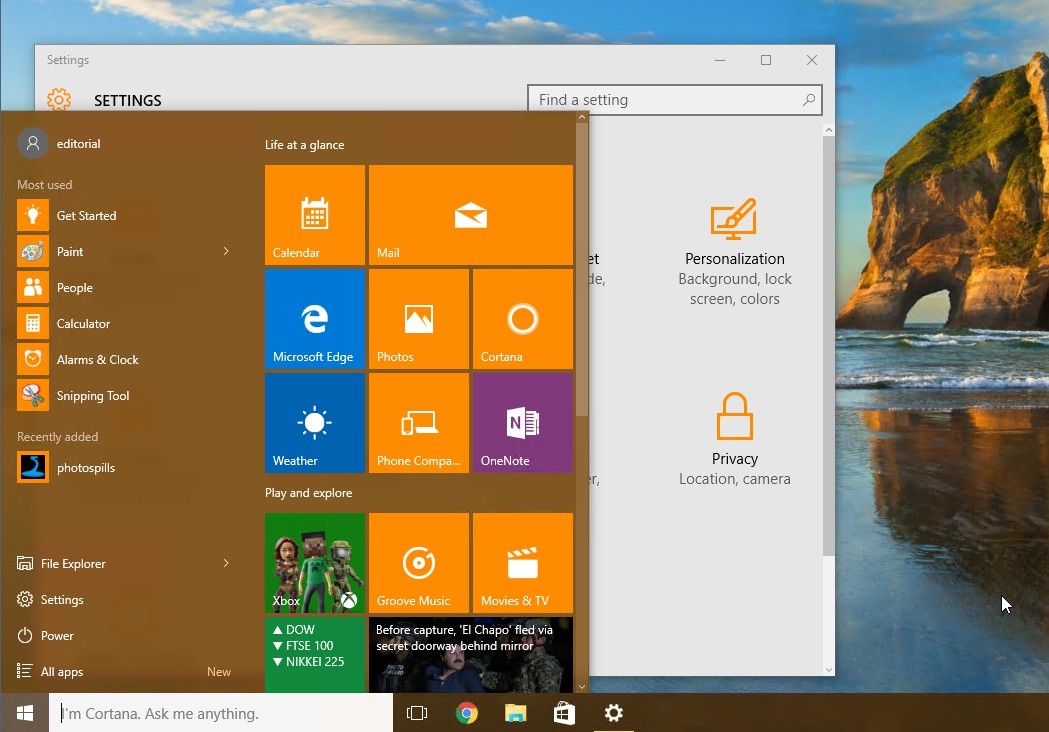
OK, not really. This is going back to something more subdued as soon as we finish writing this article.
Moving on, the Personalization area lets you customize the lock screen image and what shows up there; choose and save collections of backgrounds, colors and sounds as “themes;” and edit how the Start menu works.
Hint: If you got used to Windows 8.1’s full-screen Start screen, the Start area is where you can get that back. Just turn on the “Use Start full screen” option.

What’s your favorite Windows 10 trick that you’ve found? Let us know in the comments.
More tips you can’t miss:
7 secrets of Windows Task Manager every computer user should know