-
How to Create an Amazon(AWS) EC2 Linux Instance
over 8 years ago
Traditional hostings days are gone. Now Amazon Web Services is providing a different type of hosting service in which you can create your own virtual server and configure it like a real server and install applications & packages according to your needs.
In this blog I am trying to explain step by step procedure to launch your own server instance:-
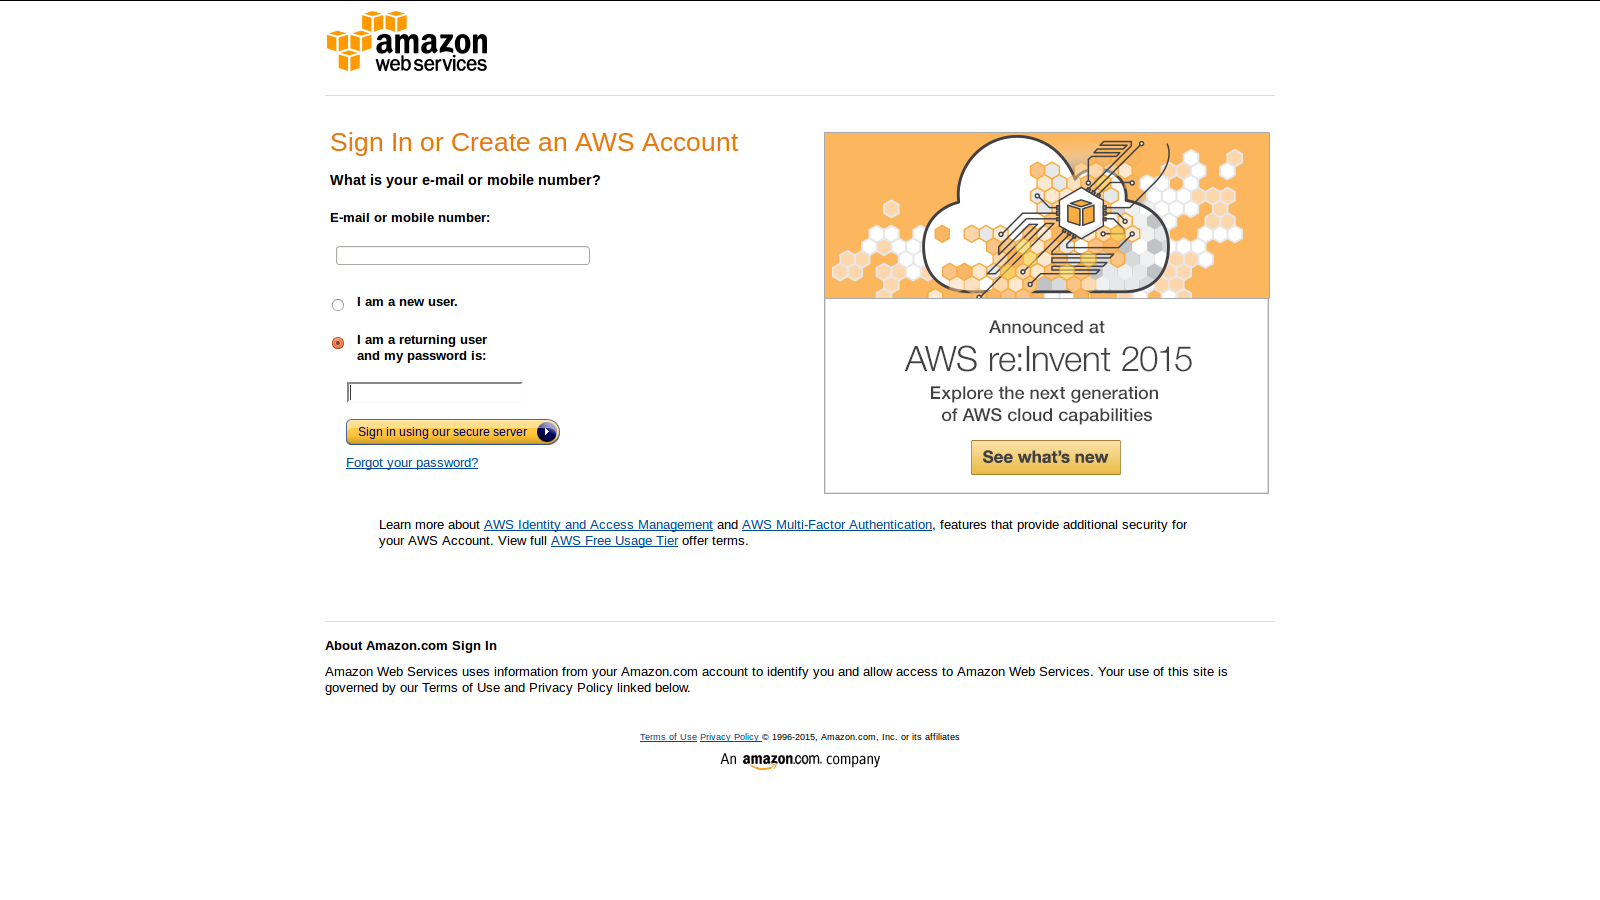
1. Open the Amazon EC2 console at https://console.aws.amazon.com/ec2/. You can login with your Amazon shopping website credentials otherwise create a new one.
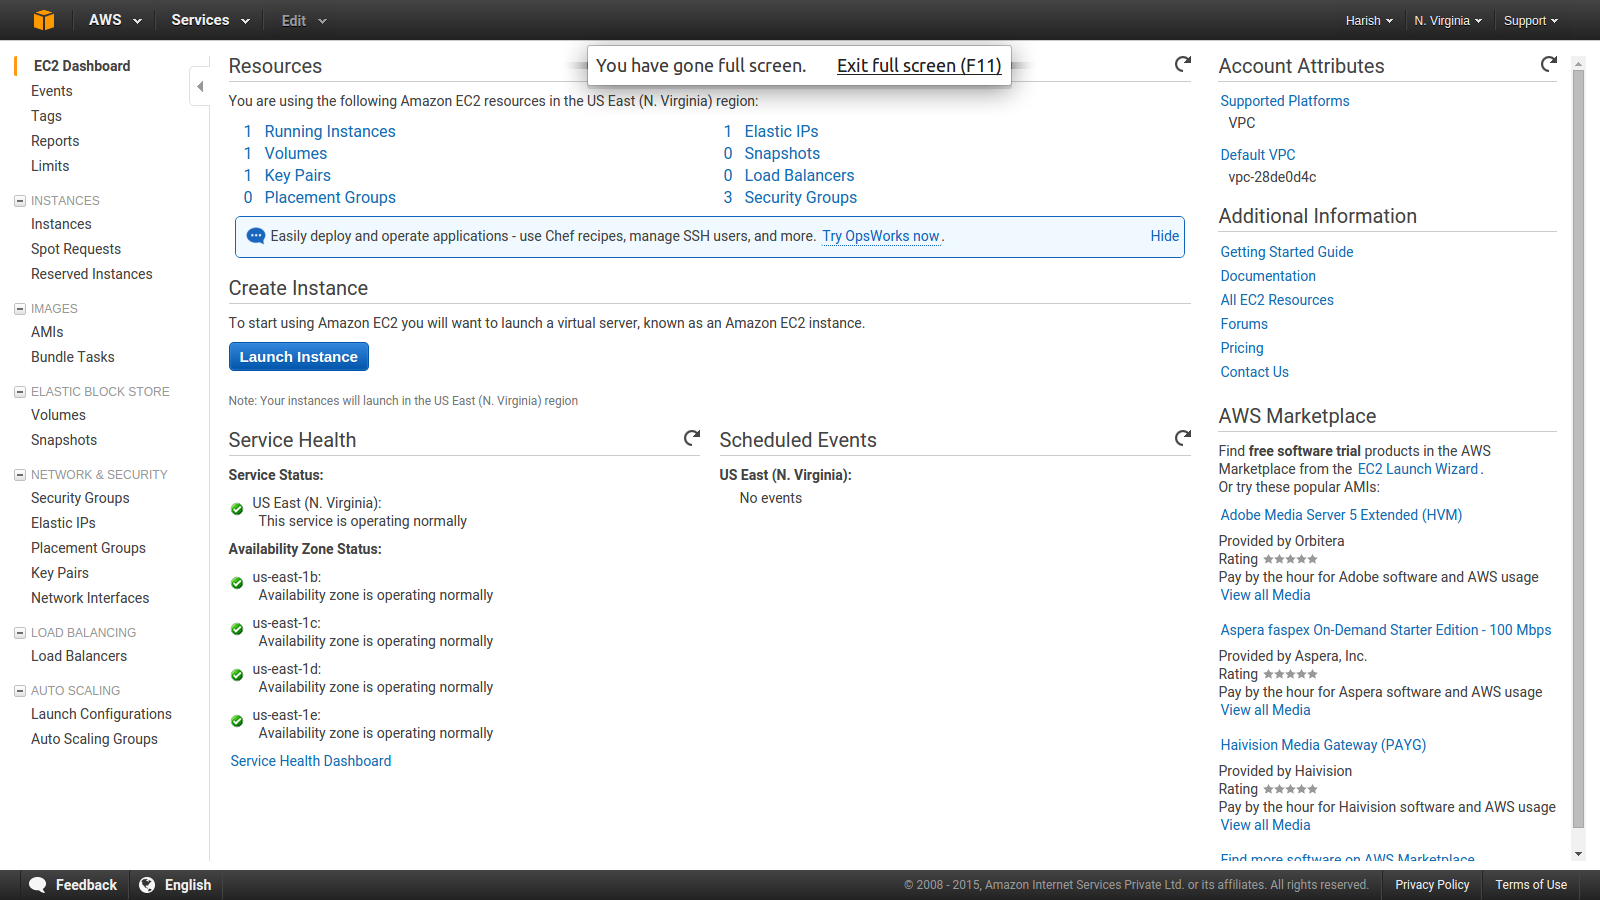
2. Go to the Dashboard, click Launch Instance.
3. Now you can choose your favorite Amazon Machine Image (AMI) page which displays a list of AMIs, that serve as templates for your instance. Select the Linux Ubuntu 14.04 LTS
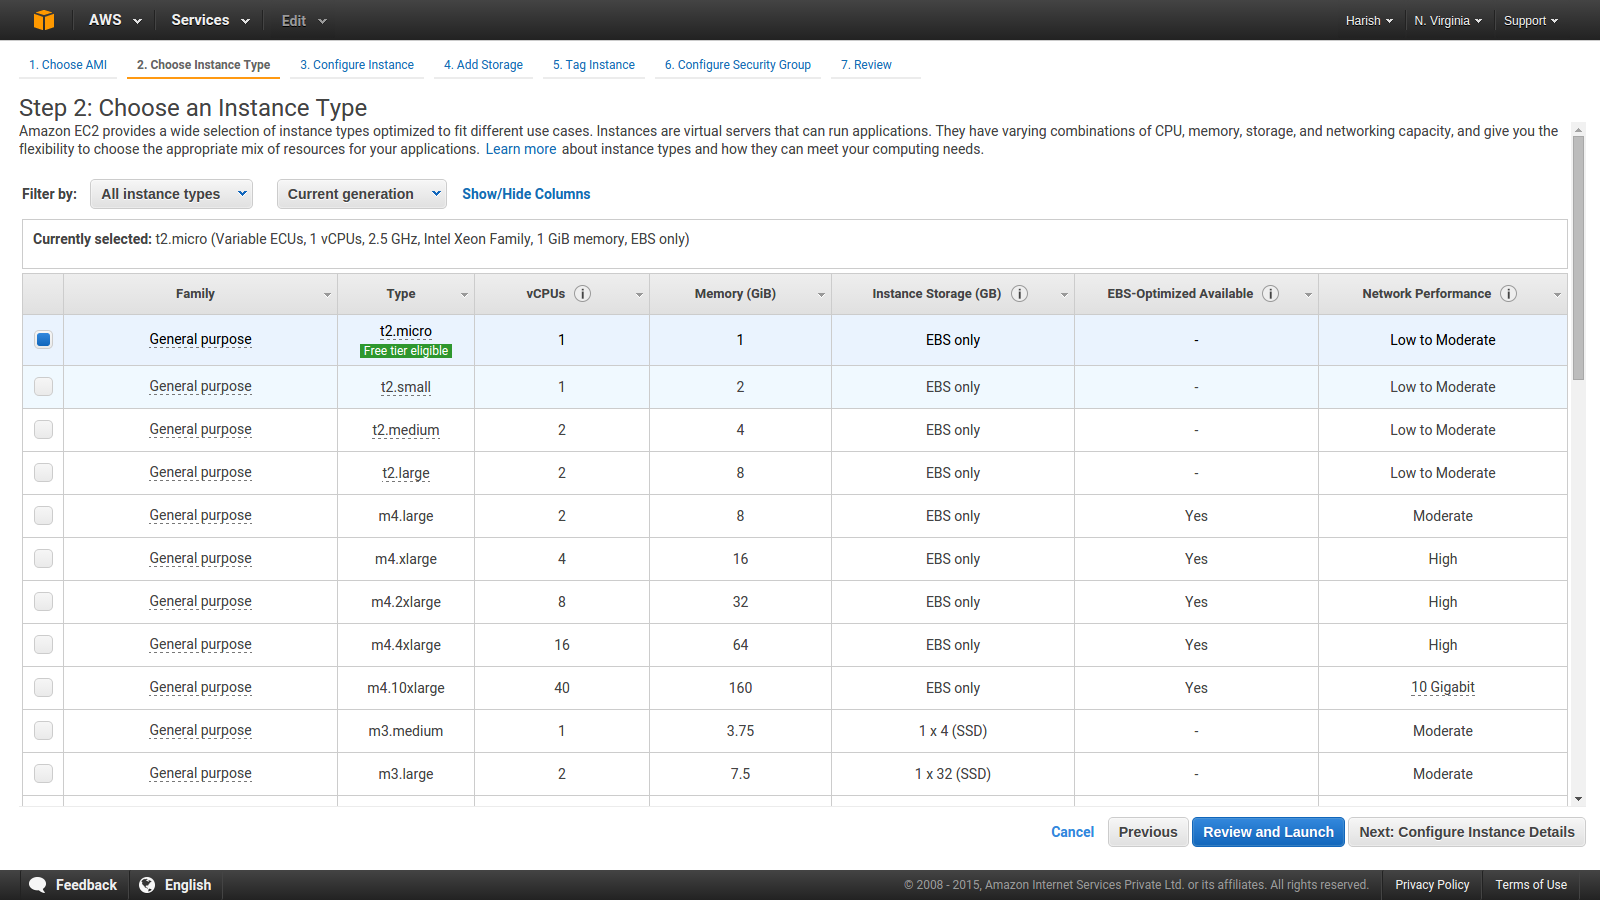
4.There are various options of instances, you can choose your instance type based on you budget and site usability. Choose t2.micro which is default option..
5. Click Next: Configure Instance Details.
a). Nothing to worry, Just do Click next there VPC Network list and select a subnet from the Subnet list by default.
b).Enable is the default only if the above option is default i.e VPC is a default VPC.
6. Add storage, By Default 8 GB. which is enough for many small website or CMS installations.
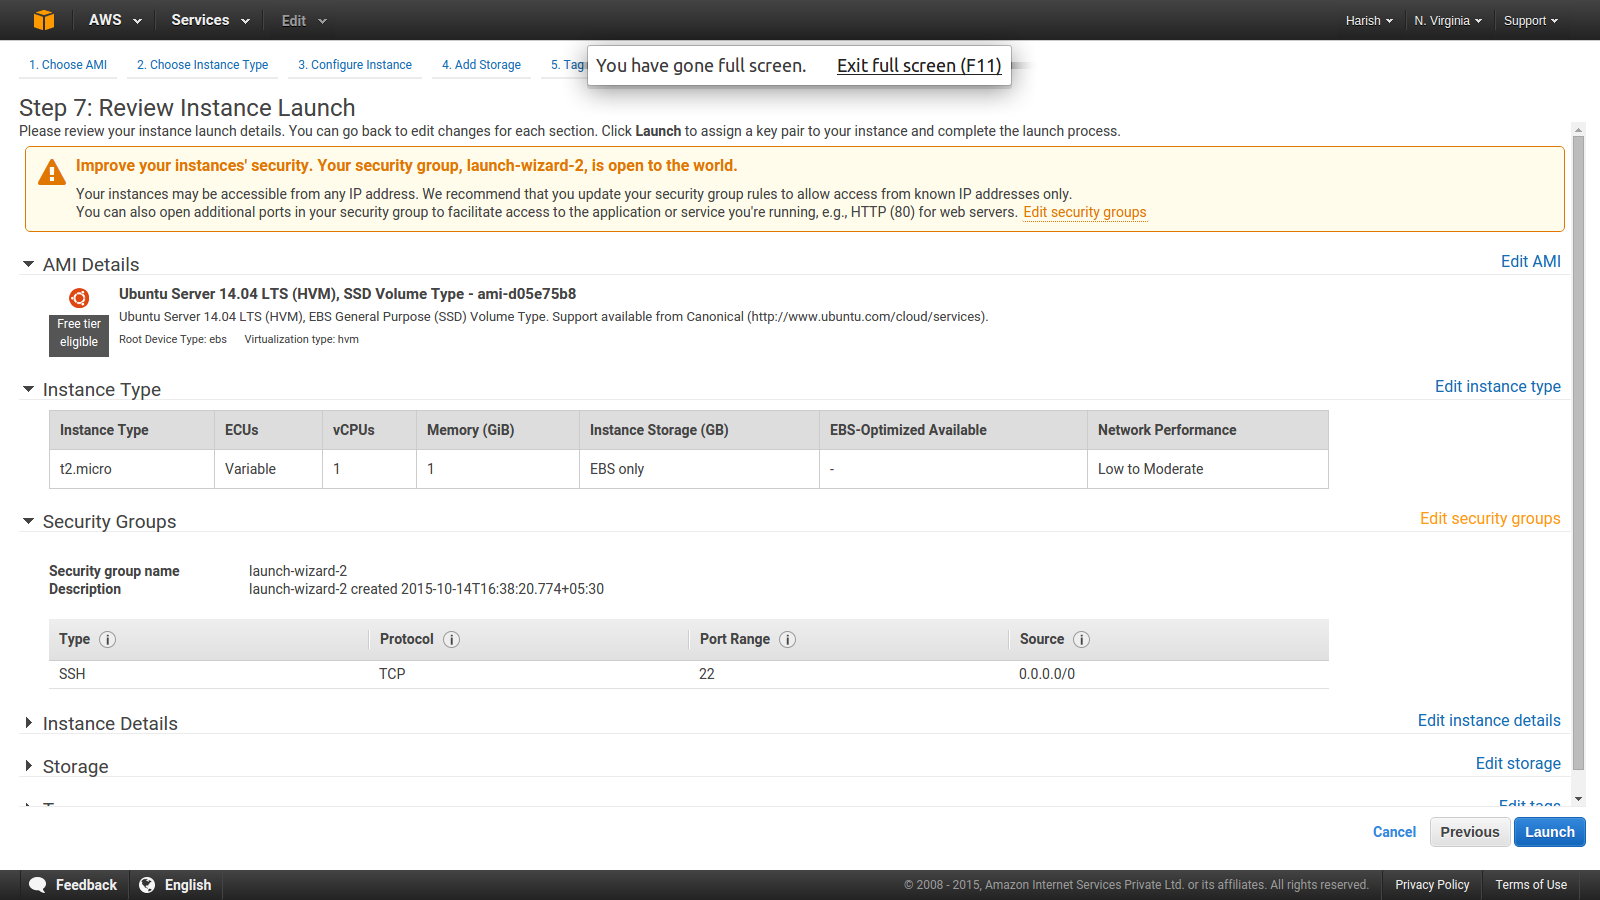
7. Click Review and Launch to let the wizard complete the other configuration settings for you.
8. On the Review Instance Launch page, under Security Groups, you'll see that the wizard created and selected a security group for you. Instead, select the security group that you created when getting set up using the following steps:
9. Click Edit security groups.
On the Configure Security Group page, ensure to Create a new security group option is selected. Here you have Add Rules for inbound. And then, Click on Launch.
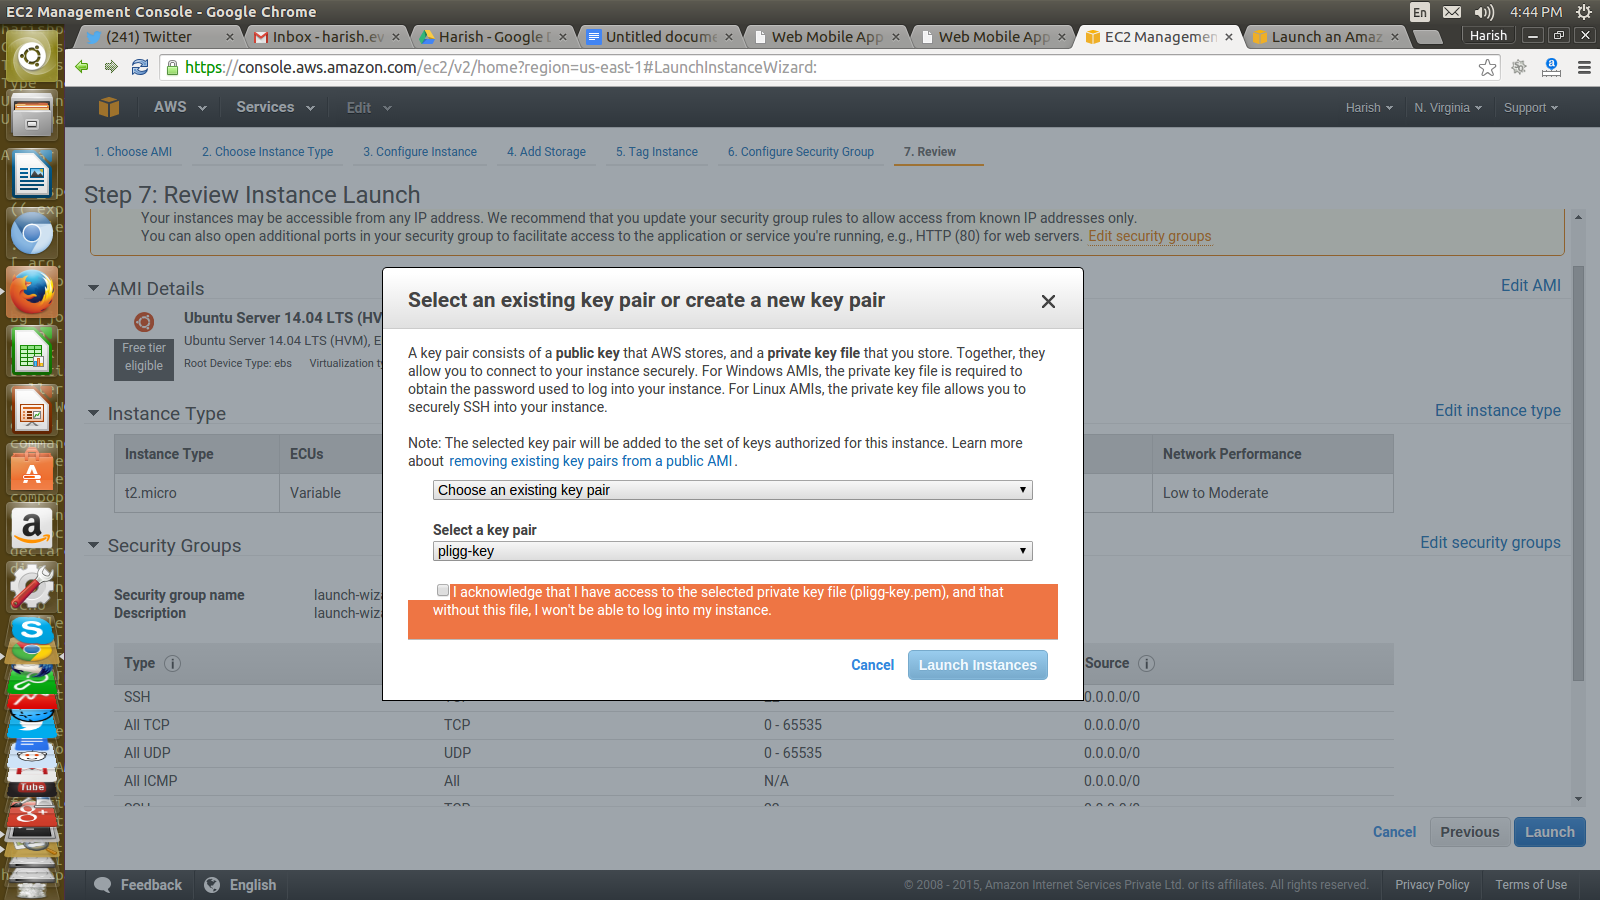
10. System will tell you to create or Choose existing key pair i.e .pem like (key.pem) file which is used as login password for your SSH terminal.
11. After your Acknowledgement yes, Click on instance to Launch it.
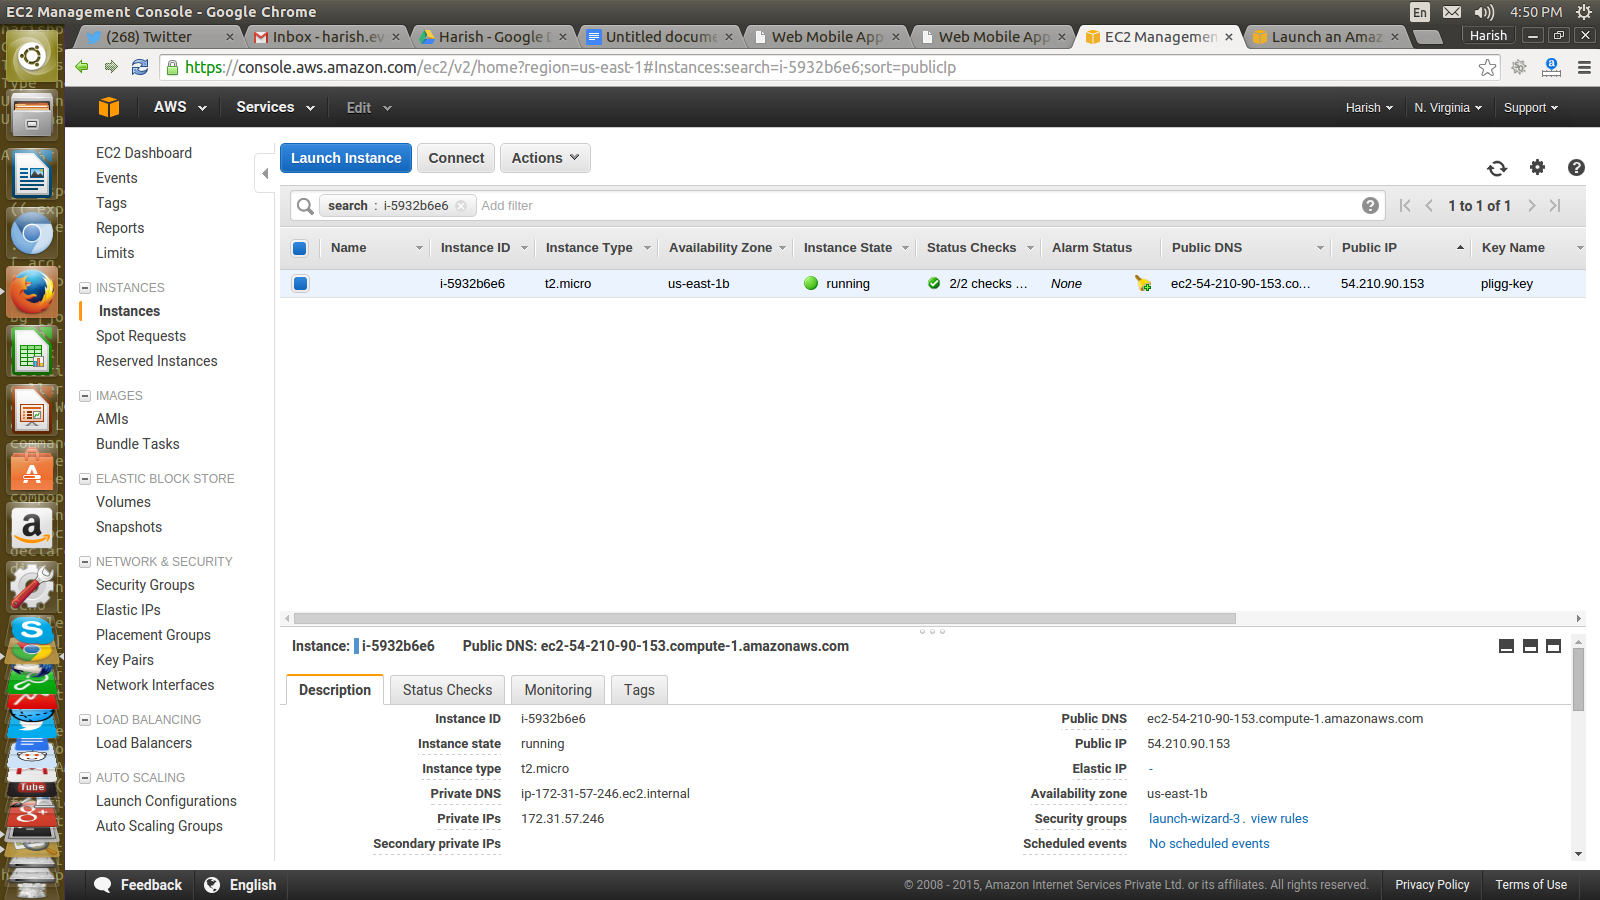
Yuppee !!! your AWS Linux EC2 instance is Running And Live now. Note Down Public DNS and Public ip Address. Put this ip address or Public DNS in your browser. You can configure it according to your needs. Hope you enjoy this step by step tutorials on Creating instance of AWS EC2 Linux Ubuntu Server 14.04.


0 Comment(s)