-
1
Start by laying your piece of furniture on a large dropcloth. Your first step will be sanding down the entire surface with sand paper or a sanding sponge. Make sure to wear a mask that covers your nose and mouth to avoid breathing in any stray shavings. Sand until all of the wood feels smooth without any pieces that could lead to a splinter.
-
2
Next, use the Sherwin-Williams Extreme Bond™ Primer to make sure you get the best finish possible. Don't forget to get in all the little nooks and crannies! Let the primer dry completely before moving on to paint.
-
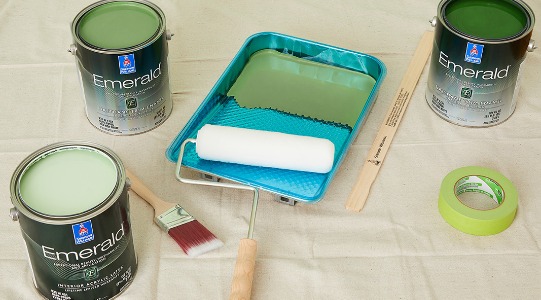
3
Pour out the darkest of the three colors into a tray. Use your roller to paint the larger surfaces, and a foam brush to get into all the small spaces. Let the first coat dry for about an hour before painting the second coat.
-
4
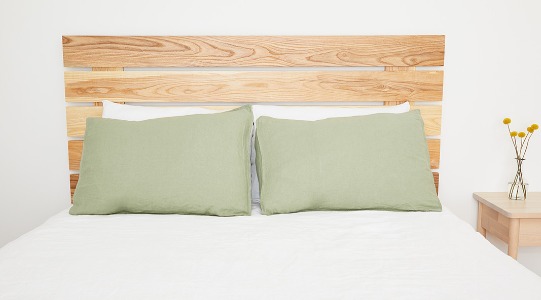
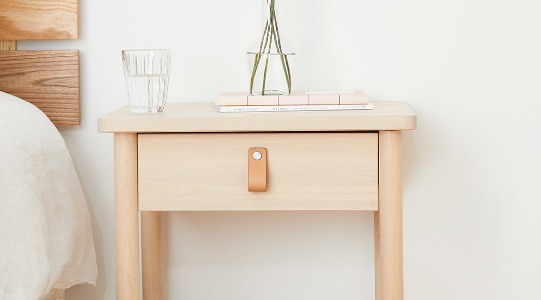
Lay your second piece of furniture on a new dropcloth. Something like this small end table will complement a headboard and sit nicely against the wall.
-
5
Wearing a mask, sand down the entire surface with sand paper or a sanding sponge. Sand until all of the wood feels smooth.
-
6
Next, use the Sherwin-Williams Extreme Bond™ Primer and let dry.
-
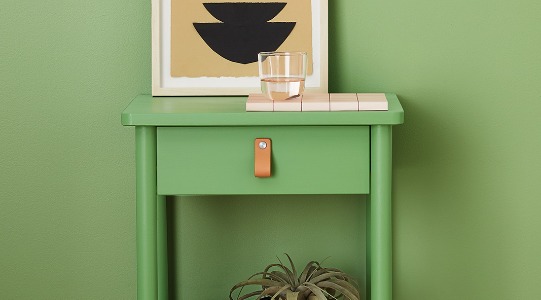
7
Open the can of medium color paint — there's no need to use a tray here. Use a paint brush (we recommend the Purdy Clearcut Elite brush) to paint the larger surfaces, and a new foam brush to get into all the small spaces. Use painter's tape to cover any parts you want to protect, like a leather pull, and don't forget to paint the inside of a drawer if your piece has one. Let the first coat dry for about an hour before painting the second coat, and wait until the piece is completely dry before removing any tape.
-
8
Lastly, paint your wall. Tape the bottom of the wall or baseboard with the painter's tape and a drop cloth. Move the drop cloth about an inch away from the wall so that the tape will stick to both the floor and the drop cloth.
-
9
Use painter's tape to edge along the seam of the ceiling and the corners of the adjoining walls.
-
10
Pour your paint into a new tray and use a small paintbrush to cover the areas along the floor, ceiling, and corners. Then use a new roller head to cover the large parts of the wall.
-
11
Let the wall dry for about an hour before starting on the second coat. When the paint is still tacky from the second coat, carefully pull the painter's tape off the wall.
-
12
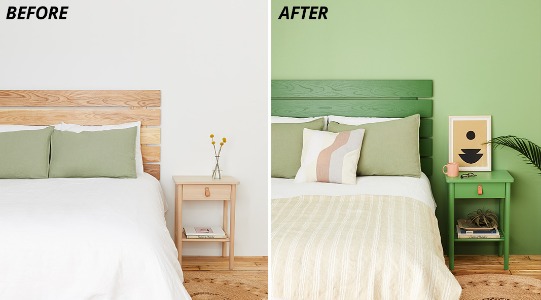
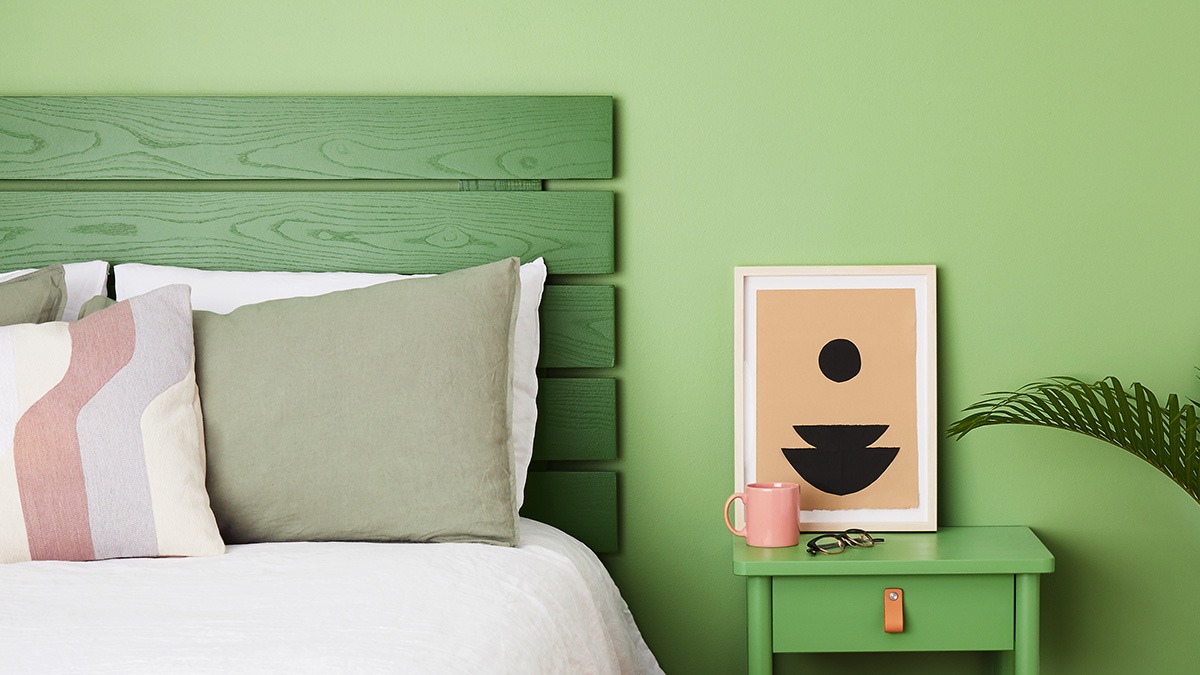
The BEFORE & AFTER…
WARNING! Removal of old paint by sanding, scraping or other means may generate dust or fumes that contain lead. Exposure to lead dust or fumes may cause brain damage or other adverse health effects, especially in children or pregnant women. Controlling exposure to lead or other hazardous substances requires the use of proper protective equipment, such as a properly fitted respirator (NIOSH approved) and proper containment and cleanup. For more information, call the National Lead Information Center at 1-800-424-LEAD (in US) or contact your local health authority.
Close